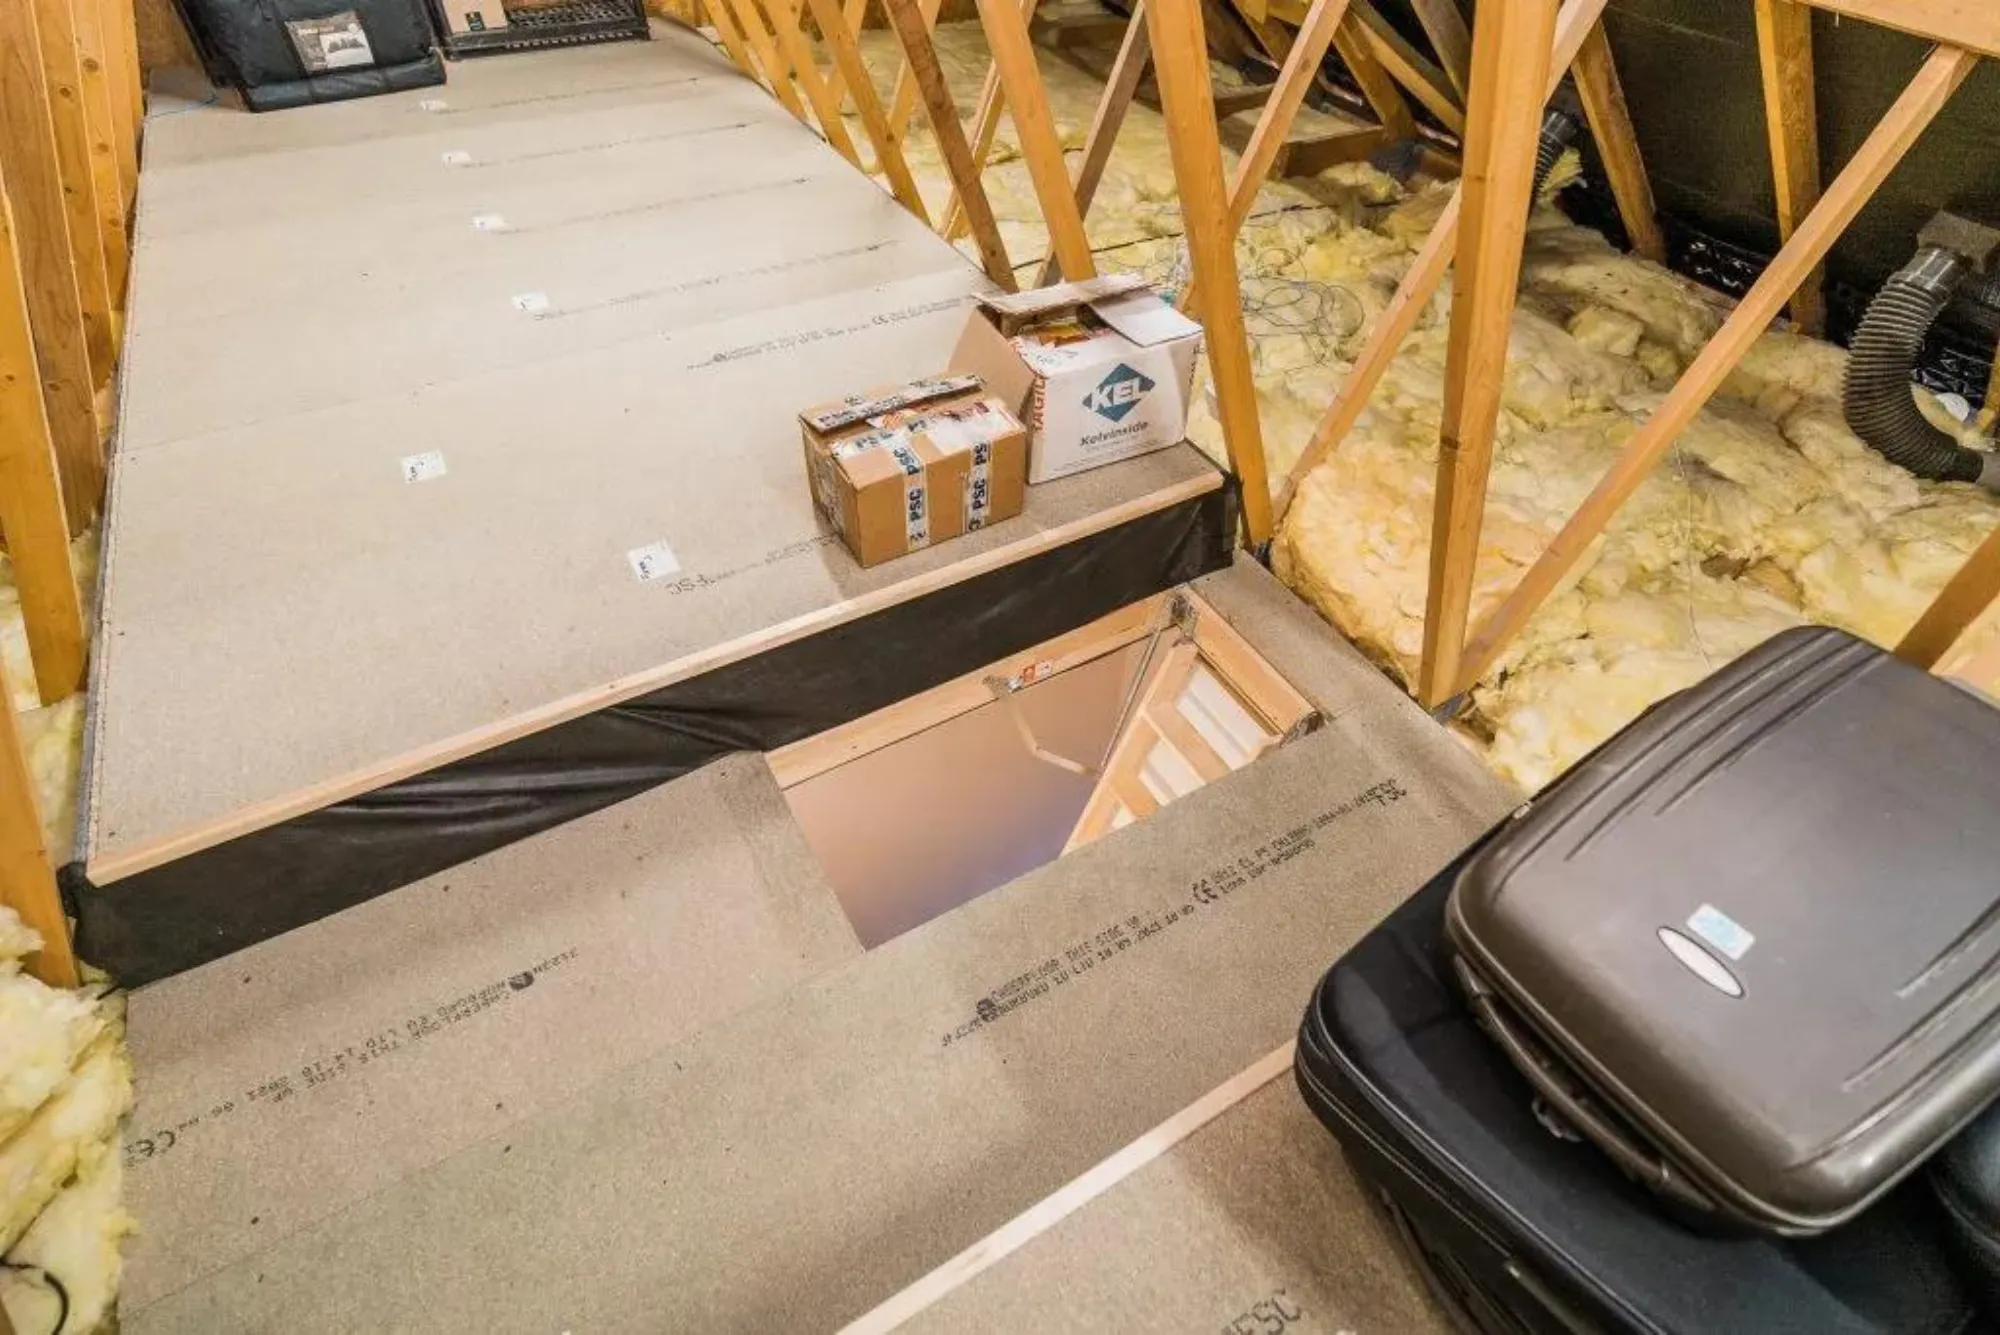
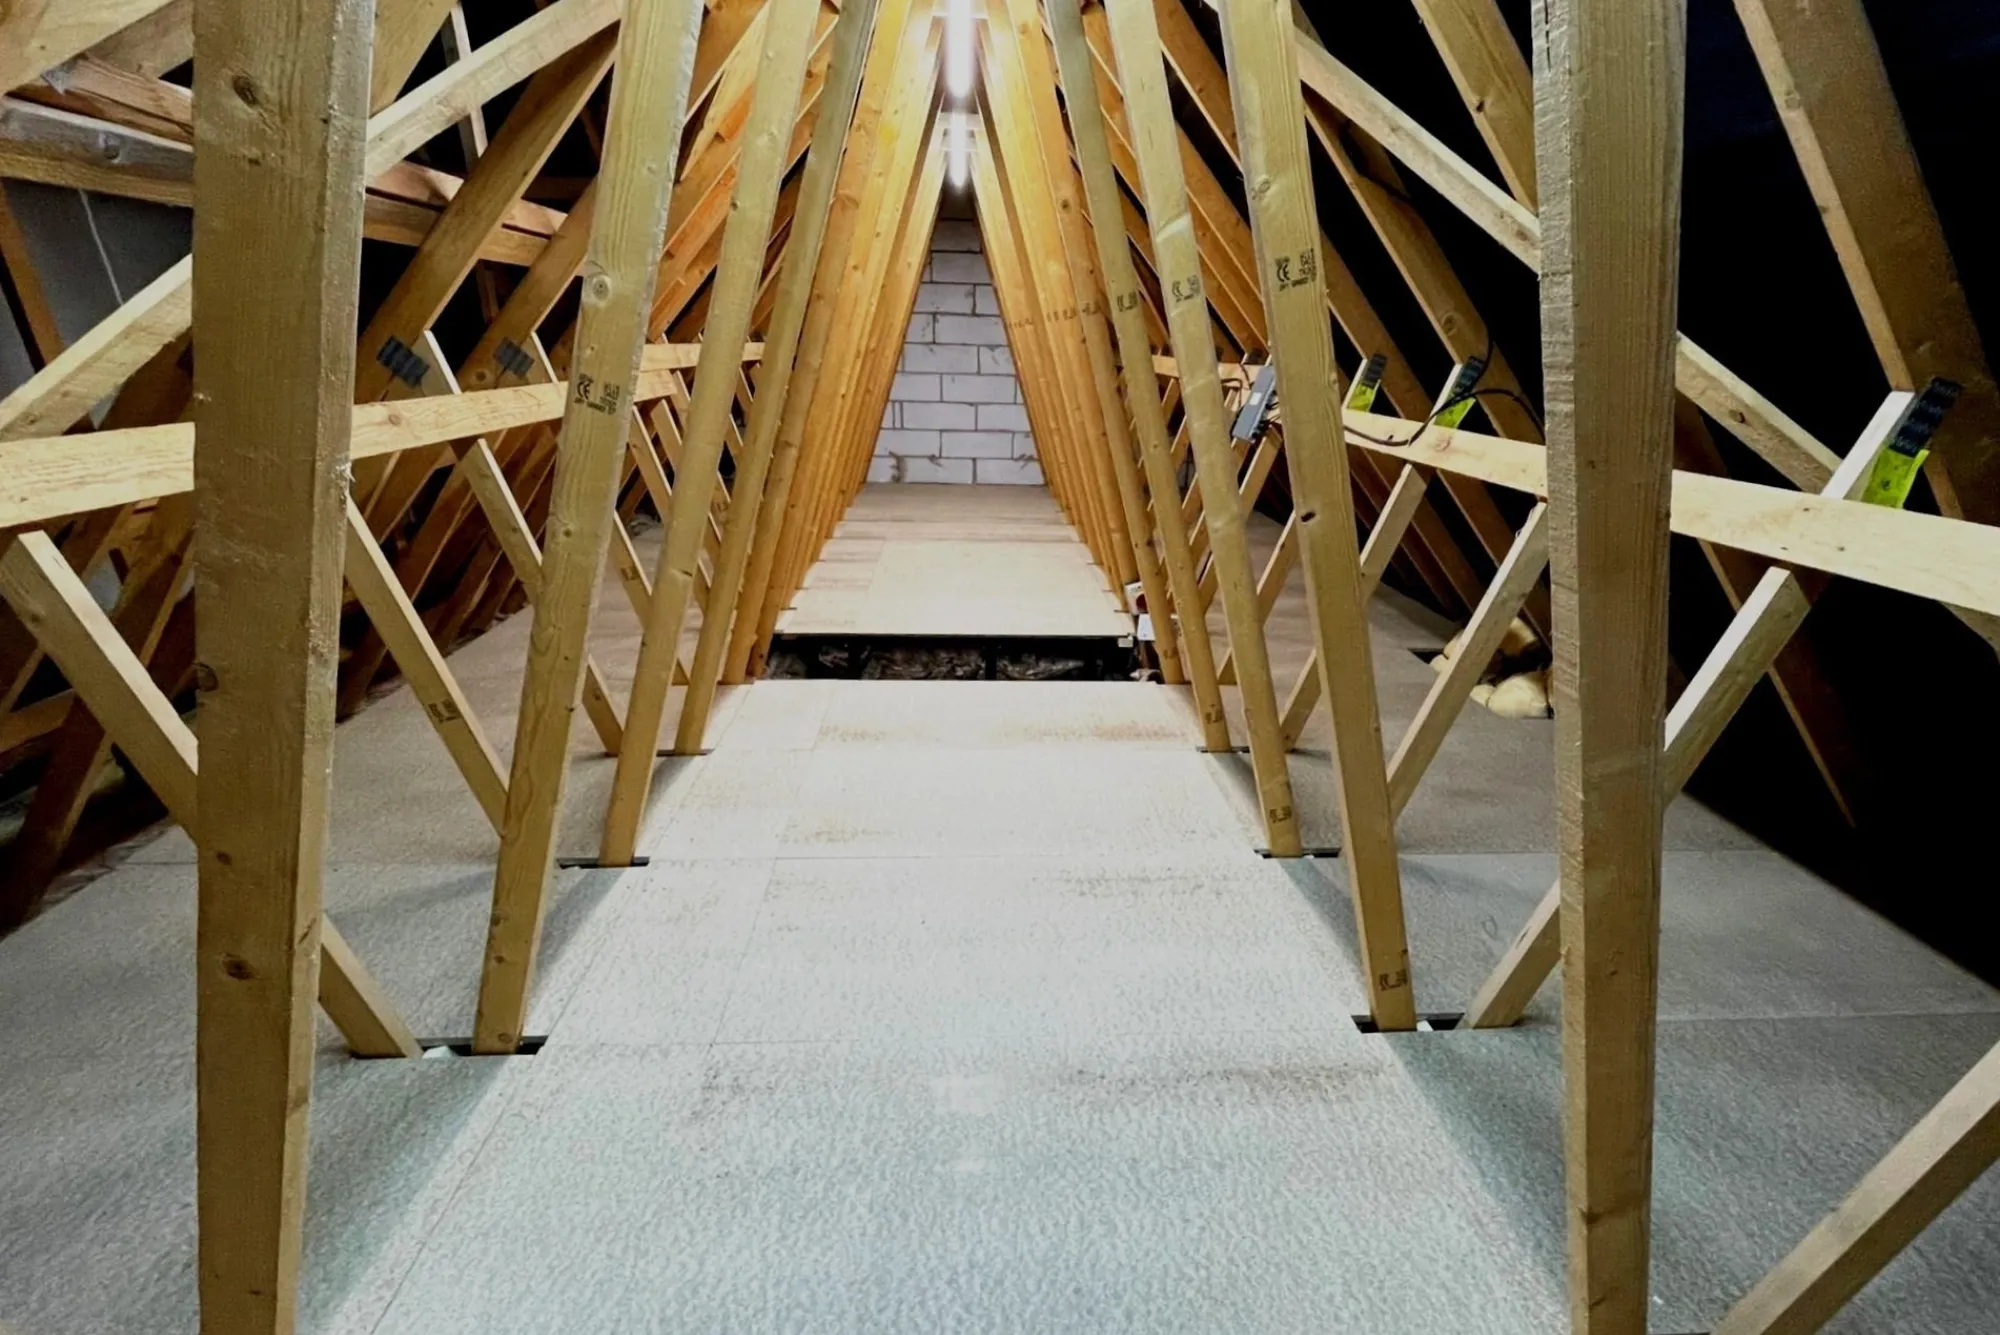
Loft boarding is a practical solution for maximizing storage space and enhancing the functionality of your home. One common question homeowners have is: how long does loft boarding take to install? The installation time can vary based on several factors, including the size of the loft, its condition, the complexity of the project, and the type of materials used. In this article, we’ll explore these factors in detail and provide a comprehensive guide to understanding the loft boarding installation process.
Factors Influencing Installation Time
Size Of The Loft
The size of your loft plays a significant role in determining how long the installation will take. Larger lofts naturally require more time to board due to the increased surface area that needs to be covered.
Small Lofts: These can typically be completed within a day or two.
Medium-Sized Lofts: These may take two to three days to complete.
Large Lofts: These usually require at least three to four days or more, depending on the complexity.
Condition Of The Loft
The initial condition of your loft is another critical factor. A clean, well-maintained loft can be boarded more quickly than one that is cluttered or in poor structural condition.
Clean and Clear Lofts: Minimal preparation needed, speeding up the process.
Cluttered Lofts: Additional time required for clearing out items and cleaning.
Structural Repairs Needed: Time must be allocated for repairing any damage before installation.
Complexity Of The Project
The complexity of your loft boarding project can also affect the installation time. Simple, straightforward projects are quicker to complete, while more complex installations with custom requirements will take longer.
Simple Installations: Standard layouts with easy access.
Complex Installations: Irregularly shaped lofts, multiple access points, and custom storage solutions.
Type Of Loft Boarding Material
Different materials used for loft boarding can impact the installation time. Some materials are easier and quicker to work with than others.
Standard Loft Boards: Generally quicker to install.
High-Density Boards: May take longer due to their weight and cutting requirements.
Insulated Boards: Require additional steps for proper installation.
Typical Installation Timeframes
Small Lofts
For small lofts, the installation process is relatively quick. Most small loft boarding projects can be completed within one to two days, assuming no major complications arise.
Medium-Sized Lofts
Medium-sized lofts typically require two to three days for a complete installation. This timeframe allows for adequate preparation, installation, and final inspection.
Large Lofts
Large lofts often take at least three to four days or more. These projects require more materials, time, and effort, especially if there are any custom elements or structural issues to address.
UpToHype is your premier platform for staying ahead of the latest trends and buzzworthy topics in entertainment and lifestyle. At UpToHype, we provide up-to-the-minute updates and insights on everything that’s making waves, from trending fashion to groundbreaking technology. Whether you’re looking for the hottest new releases, viral phenomena, or emerging trends, UpToHype delivers curated content that keeps you in the know.
Our team at UpToHype is dedicated to bringing you the most exciting and relevant information to ensure you never miss out on what’s trending. Stay current and informed with UpToHype, where every update is designed to keep you at the forefront of what’s hot.
Steps Involved In Loft Boarding Installation
Initial Assessment
The first step in any loft boarding project is a thorough initial assessment. This involves:
Measuring the loft area
Checking for structural issues
Identifying any obstacles or challenges

Preparation Phase
Before the actual installation begins, the loft must be prepared. This phase includes:
Clearing out any clutter or debris
Ensuring the loft floor is clean
Installing necessary supports for the boards
Installation Phase
The core of the loft boarding process is the installation phase. This involves:
Cutting and fitting the loft boards
Securing the boards in place
Ensuring even spacing and alignment
Final Inspection And Cleanup
Once the boards are installed, a final inspection is conducted to ensure everything meets safety and quality standards. This phase includes:
Checking for any loose boards or gaps
Making necessary adjustments
Cleaning up the workspace
Hiring Professionals Vs. DIY
Professional Installation
Hiring professionals for loft boarding has several advantages, including expertise, efficiency, and quality assurance. Professional installers can complete the job more quickly and effectively, typically within the estimated timeframes mentioned earlier.
DIY Installation
For those with DIY experience, loft boarding can be a feasible project. However, it’s important to consider the time commitment and potential challenges. DIY installations often take longer, especially for those unfamiliar with the process.
Tips For A Smooth Loft Boarding Installation
Planning Ahead
Proper planning is crucial for a smooth loft boarding installation. Ensure you have all necessary materials and tools before starting, and create a detailed plan of action.
Choosing The Right Materials
Selecting the best loft boarding materials is essential for both the quality and duration of the installation. Consider the ease of installation, durability, and any additional features such as insulation.
Ensuring Safety
Safety should always be a top priority. Use appropriate safety gear, ensure proper ventilation, and be aware of common hazards such as falling or structural damage.
The time it takes to install loft boarding varies based on several factors, including the size and condition of the loft, the complexity of the project, and the materials used. Small lofts can typically be completed within a day or two, while larger and more complex projects may take several days. Whether you choose to hire professionals or undertake a DIY project, proper planning and preparation are key to a successful loft boarding installation.


